Navigator
In this project I present a simple solution to adding an extendable navigation drawer for Android projects that use activities rather than fragments. This also allows existing projects to be converted over with minimal fuss. A reasonable amount of Android experience is assumed but I hope the instructions are as clear as possible. Any feedback is welcome, thanks.
Usage
There are two main source files for this project: NavigatorActivity, NavigatorMenuListener, and NavigatorMap. There are also four resource files: navigator_action_bar, navigator_header, navigator_layout, and navigator_menu. Before anything else the context must be configured in the NavigatorMenuListener class. This context is used to actually start the activities when they are selected. One solution can be found here, but you can always just cache a context from the calling activity.
To create a navigable activity start by extending the NavigatorActivity class. The constructor requires three Android resource IDs: a title string for the action bar, the class's activity layout, and navigation menu item. For example:
import com.caluneo.navigation.NavigatorActivity;

public class MyActivity extends NavigatorActivity {

  public MyActivity() {
    super(R.id.action_bar_title, R.layout.activity_layout, R.id.nav_menu_item);
  }
}
Everything else is managed through the onCreate function. To add the functionality for the menu item you have to add it through the NavigatorMap class. The cleanest way I could think of doing this is by adding a static block of inserts somewhere in your main activity, i.e.:
static {
  NavigatorMap.insert(R.id.nav_menu_item, R.layout.activity_layout, MyActivity.class);
  ...
}
Adding a menu item for the activity is done through the res/menu/navigator_menu.xml file. Continuing from above, to add a menu item for our new activity:
mkdocs breaks this, look at the Github
Since it is an Android menu you can also add groups and dividers. Finally, to add the navigation pane to your layout make a copy of res/layout/navigator_layout.xml. Inside you'll find three distinct elements: the action bar include, the activity layout include, and the actual navigation view. The navigation view has a LinearLayout container for elements you want to add at the bottom of the view, e.g. a log out button. Add an include for your activity's layout between the action bar and navigation view as such:
mkdocs breaks this, look at the Github
One caveat is that you have to add at least 64dp (or whatever the height of your action bar is defined as) of padding at the top of your activity's layout to account for the action bar. I haven't found a way around this yet, sorry. But, this system allows you to keep your currently made layouts without having to change much. You should now have a functioning navigation pane and can follow this process for all the activities you want.
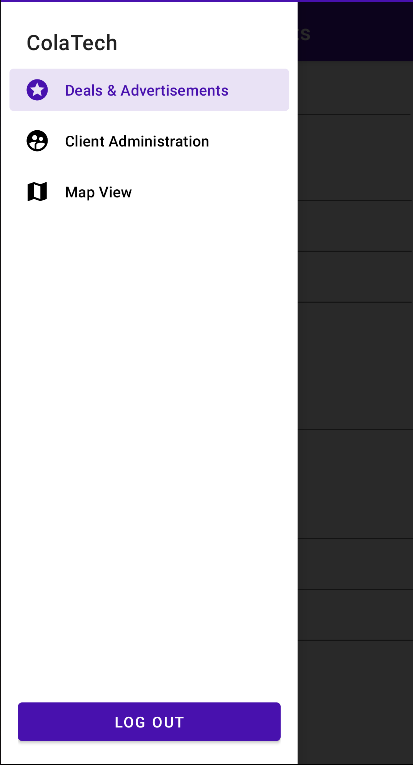
Screenshots
Here is a screenshot of the menu in action: